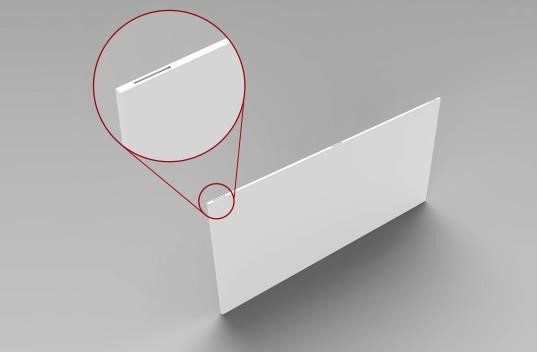
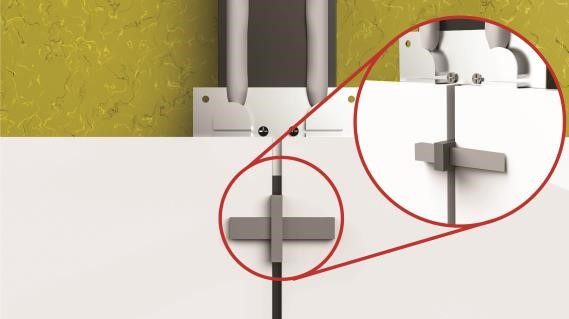
This fixing system is for installation of porcelain ceramic tiles with high strength. First, a groove with a length of 3 to 5 cm is created in the width of these porcelain ceramic tiles, then after installing aluminum substructure on building facade, the fixing process is done by placing a stainless steel concealed fixing clip in the ceramic groove. An example of these fixing clips can be seen in the figure below.

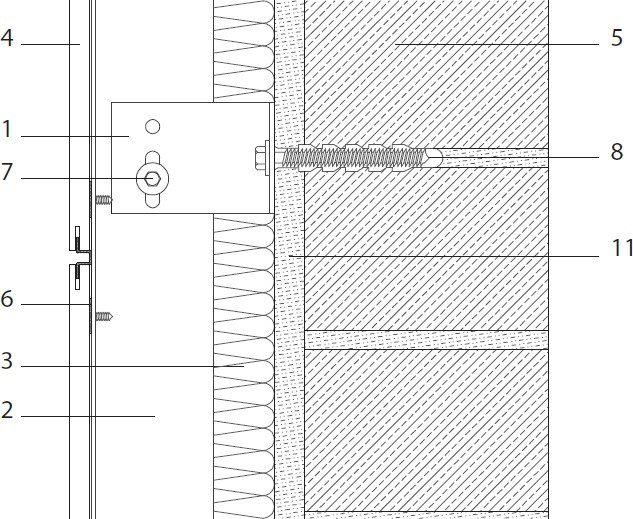
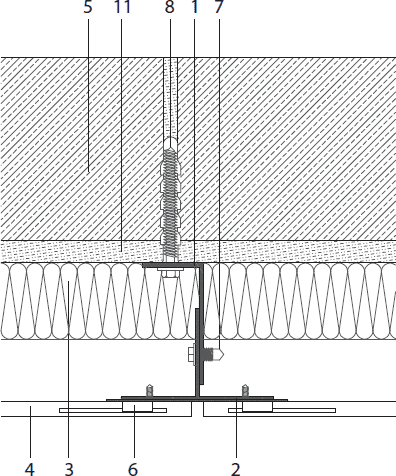
- Aluminum bracket
- Vertical T profile
- Thermal insulation
- Porcelain ceramic tile
- Retaining wall
- Stainless steel concealed fixing clip
- Stainless steel self-drilling screw.
- Mechanical anchor
Invisible mechanical fixing system stages
- Preparing a workshop plan based on the current condition of the building façade
- If necessary, the installation of a steel substructure to eliminate dimensional irregularities of the building
- After designing the facade elements, according to the obtained design, the brackets are connected to the retaining wall or steel substructure by mechanical fasteners.
- At this stage, a suitable thermal insulation is applied on the retaining wall.
- After that, the vertical profiles are connected on the brackets at a distance of approximately 10 cm from the facade of the building. The maximum distance from the axis to the axis of the vertical profiles from each other is 60 cm.
- Considering the issue of civil defense and in order to prevent the ceramic tiles from falling from the facade, all the ceramic tiles should be reinforced with fiberglass mesh and suitable adhesive.
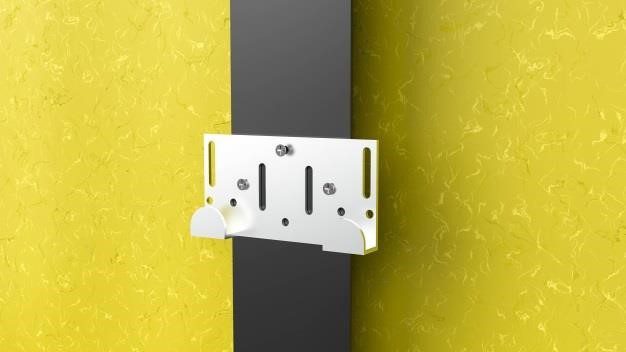
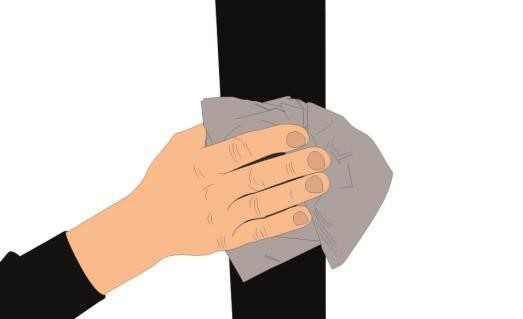
- The surface of the vertical profiles is completely cleaned and dried. It is recommended to use alcohol or acetone for this purpose.
- The bottom fixing clips are installed on vertical profiles using screws or rivets at appropriate intervals.
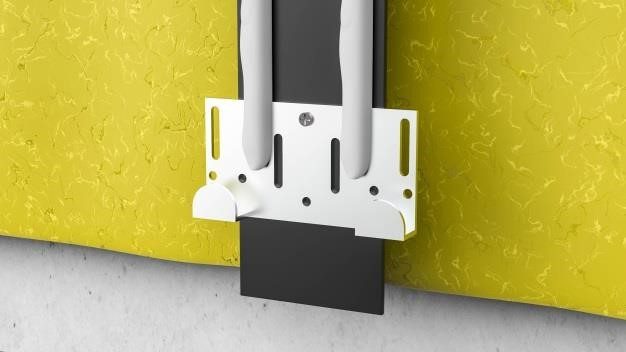
- Then a continuous strip of polyurethane adhesive with an angle of 45 degrees and a width of at least 10 mm is applied on the vertical profile.
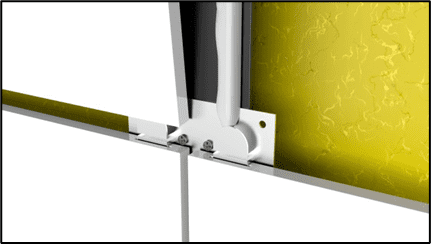
- The grooves with a length of 3 to 5 cm are created in the width of the ceramic tiles, and the ceramic tiles are placed on the bottom clips.
- Then top clips are inserted into the grooves on the top of the ceramic tile and screwed to the vertical profile.
- It's recommended to use leveling clips and wedges to improve fixing quality.
- The facade is created by repeating this process.
It is recommended that the vertical profiles be cut at the floor levels so that each part has a separate function from the other parts.
Invisible mechanical fixing system stages with grooves in the ceramic tile width